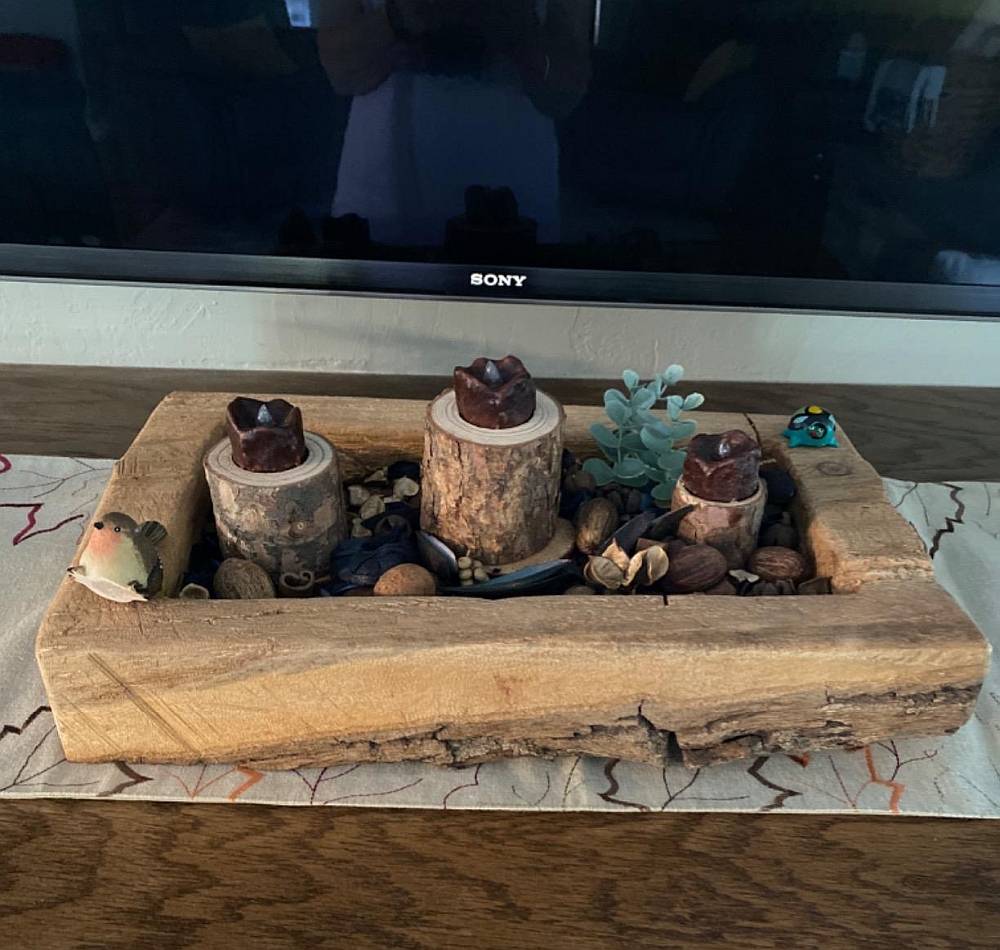
Crafting Wooden Candle Holders with Natural or Painted Finishes
Candle holders are a timeless home décor element, adding warmth and ambiance to any space. While store-bought options abound, crafting your own wooden candle holders offers a unique and personalized touch. This guide will walk you through the process of creating beautiful and functional candle holders with natural or painted finishes.
Choosing Your Wood and Design
The type of wood you select will significantly impact the final look and feel of your candle holders. Here are some popular choices:
- Pine: Affordable, readily available, and has a soft, knotty grain that adds character. Ideal for rustic styles.
- Oak: Durable, with rich grain patterns and a beautiful natural color. Suitable for both rustic and modern designs.
- Maple: Hard and dense, offering a smooth, fine grain and warm color. Works well for minimalist or contemporary styles.
- Walnut: Rich, dark brown tones and pronounced grain patterns. Adds elegance to any design.
- Cherry: Deep reddish-brown color and a straight grain. Elegant and timeless, with a natural sheen.
Once you've chosen your wood, consider the design of your candle holder. Here are some ideas:
- Simple Blocks: Cut wooden blocks to desired sizes and shapes, allowing for a secure candle base.
- Circular Designs: Cut wooden circles and stack them to create a unique and elegant layered design.
- Rustic Branches: Gather branches of varying sizes and shapes, securing them together to form a natural candle holder.
- Geometric Patterns: Use woodworking tools or templates to cut geometric shapes into the wood, creating a modern and sophisticated look.
- Personalized Designs: Incorporate initials, dates, or other personal touches to create a truly unique candle holder.
Preparing the Wood
Before you begin crafting, it's essential to prepare the wood properly:
1. Cut and Shape
Using a saw, cut the wood to your desired dimensions. If necessary, use a chisel or carving tools to shape the wood and create any desired designs.
2. Sanding
Sand the wood thoroughly using progressively finer grit sandpaper. This removes any rough edges, imperfections, and splinters, creating a smooth surface for finishing.
3. Cleaning
Wipe the sanded wood with a damp cloth to remove any dust or debris. Allow it to dry completely before proceeding.
Adding a Natural Finish
For a natural look, you can enhance the wood's beauty and protect it from the elements using natural finishes:
1. Wood Oil
Apply a wood oil like tung oil or linseed oil to nourish and protect the wood. Oils penetrate deeply, enhancing the natural grain patterns and creating a warm, subtle sheen.
2. Wax
Use a beeswax-based polish or a mixture of beeswax and mineral oil to create a protective layer and add a slight sheen. Wax provides a natural, slightly matte finish that accentuates the wood's beauty.
3. Stain
If you want to enhance the wood's color or create a distressed look, use a wood stain. Choose a color that complements your design and apply it evenly using a brush or rag.
Adding a Painted Finish
For a bolder look, consider painting your wooden candle holder. Here's how:
1. Primer
Apply a primer to the wood before painting. This creates a smooth, even surface for the paint to adhere to, ensuring a professional finish.
2. Paint Choice
Choose a paint that complements your design and suits the intended style of your candle holder. Consider acrylic, chalk, or latex paints for durability and ease of application.
3. Painting Techniques
Use a brush or roller to apply the paint evenly, making sure to cover all areas. Consider different painting techniques like dry brushing, sponging, or distressing to create unique effects.
4. Finishing Touches
Once the paint is dry, consider adding finishing touches to your candle holder. You can:
- Apply a protective sealant to protect the paint and enhance its durability.
- Add embellishments like stencils, decoupage, or glitter to create personalized designs.
- Distress the paint using sandpaper to create a vintage or rustic look.
Finishing Touches and Safety Tips
Once your candle holder is finished, add a few final touches to complete the project:
- Protect the Surface: Use heat-resistant pads or coasters beneath the candle to prevent heat damage to the wooden surface.
- Candle Size: Choose candles that are appropriate for the size and shape of your holder. Avoid using candles that are too large or that might overhang the edges.
- Placement: Place your candle holders on a stable, heat-resistant surface, away from flammable materials.
- Supervision: Never leave burning candles unattended.
- Extinguish Carefully: When extinguishing a candle, ensure it's completely out. Do not leave any smoldering wicks.
Creating wooden candle holders is a rewarding and creative project. With the right wood, tools, and techniques, you can craft unique and beautiful pieces that add warmth and ambiance to your home.


No comments:
Post a Comment
Note: Only a member of this blog may post a comment.